In today’s blog, we’ll walk you through the process of registering as a local artisan on Freshfind.
For the purposes of this article, we will assume that a fictional company called “Antique Treasures,” run by a local artisan named Tom Miller, wants to register on Freshfind to expand the reach and visibility of his products.
How is he able to do so? Let us examine.
Step 1
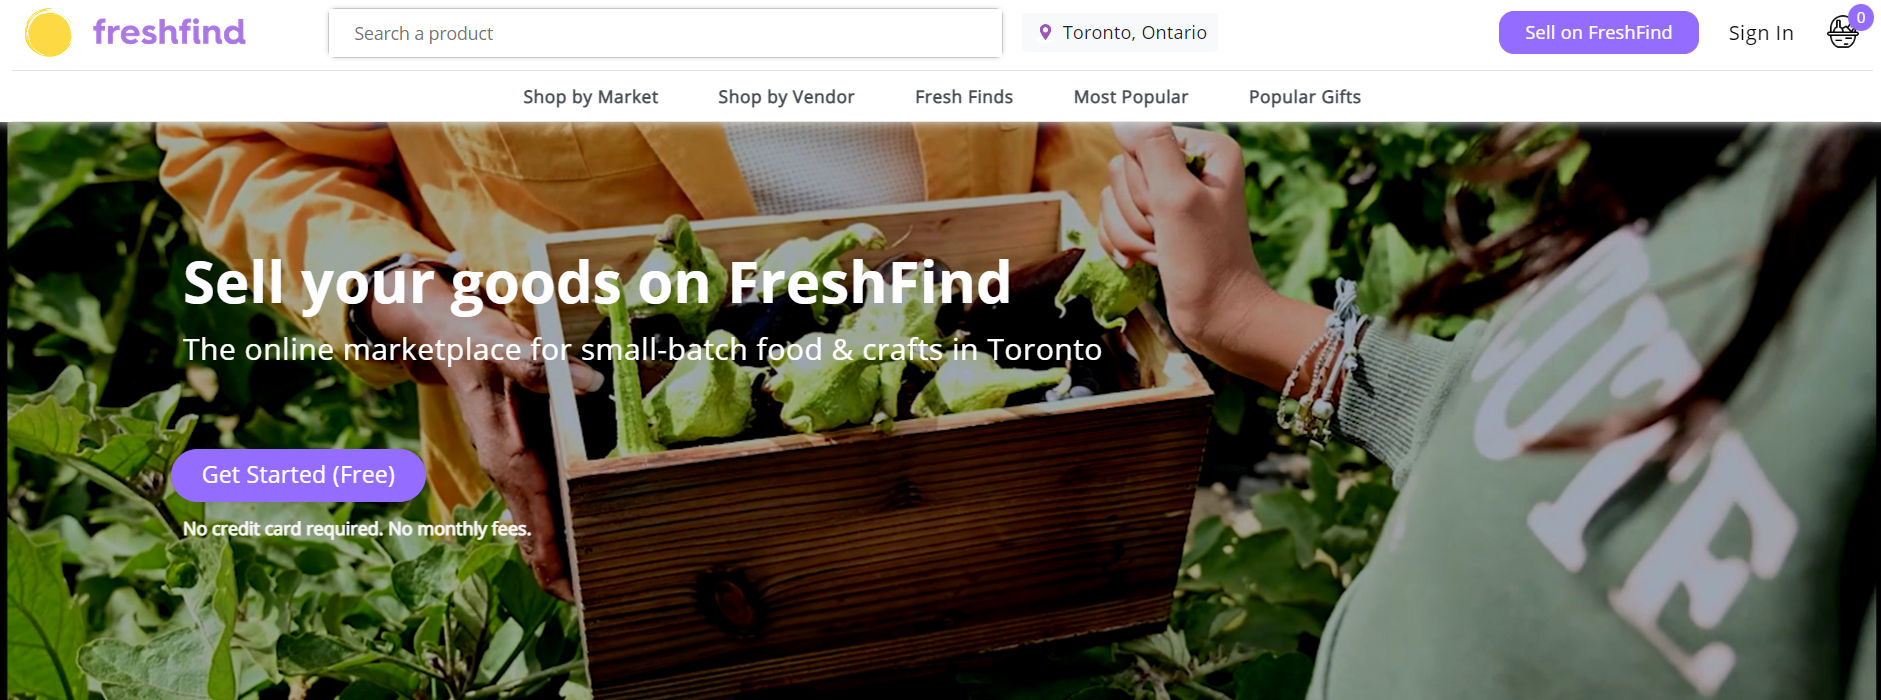
Open your preferred browser and type “freshfind.ca” into the address bar.
Step 2
Click the option “Sell on FreshFind” in the upper right corner of the page.

Step 3
You will be redirected to the next page, we strongly advise you to review the contents of the page to fully comprehend our entire business model.
This page also contains detailed information on how Freshfind works, how Freshfind adds value for its customers and vendors, who is eligible to sell on Freshfind, and the cost structure.
There is also a list of FAQs at the bottom of the page to help you learn more about us. After reading through the contents of the page, begin the process by selecting “Get Started (Free).”
Step 4
After entering all the necessary information, click “Create My Storefront.”

Step 5
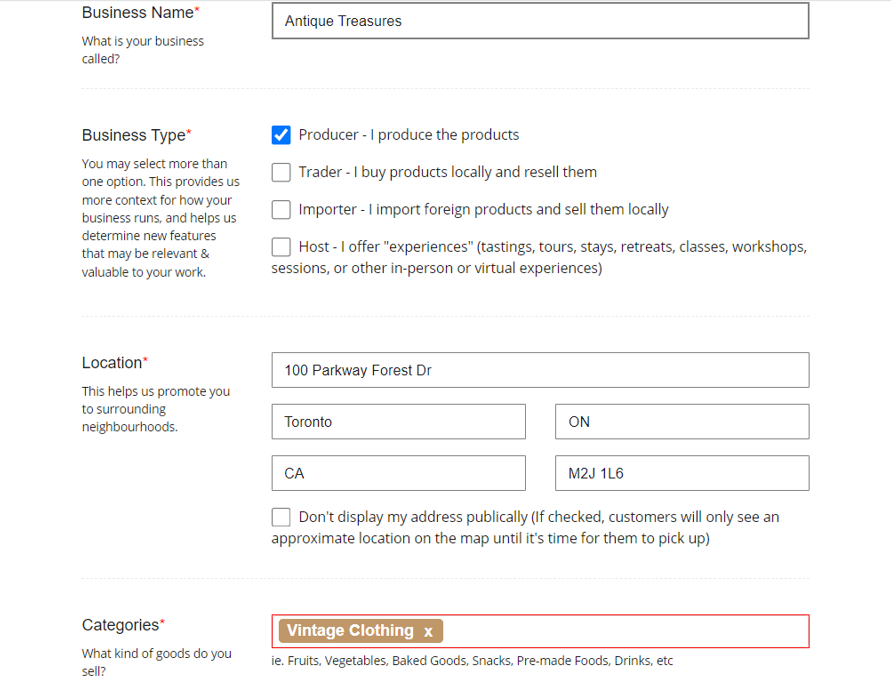
You will be redirected to a page where you must create a store profile.
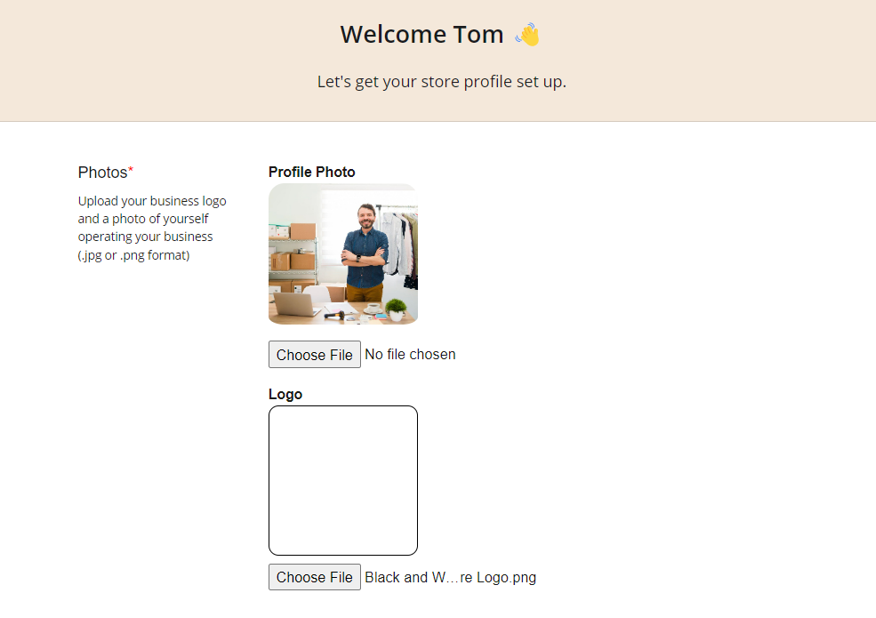
Please upload high-quality images, as they create a positive first impression and help to establish trust with your customers.
Another smart move is to keep the description and tagline of your business succinct and direct.

Uploading your food handling certification is required if you work with food. If you have an insurance certificate, you can also choose to upload it.
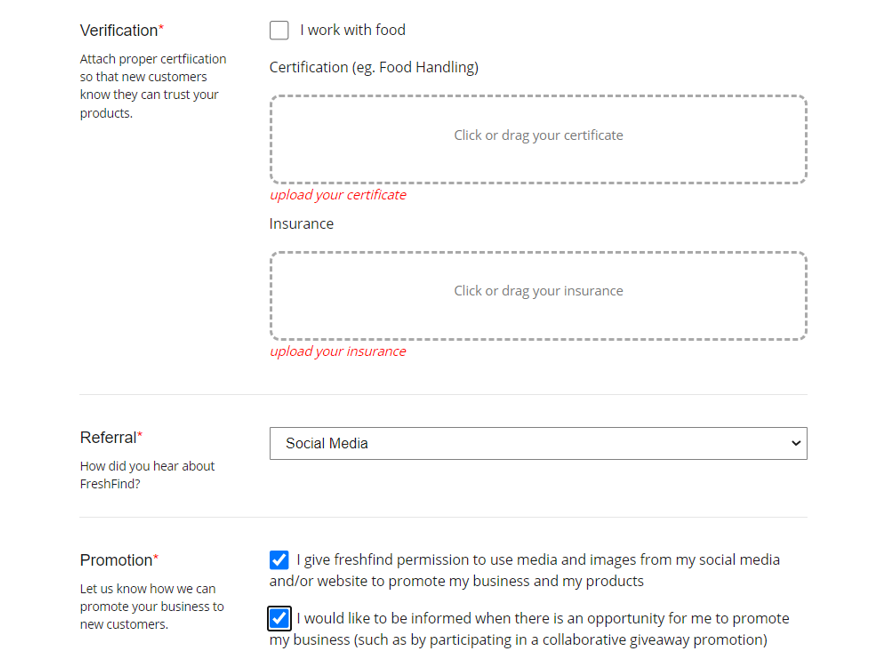
You will benefit from checking the boxes under “promotion” because it will allow Freshfind to use your images to promote you more effectively and keep you informed of any promotional business opportunities.
After entering all of the required information, click “Save and continue.”
Step 6
To finish setting up your account you must upload an image of a product you sell. If you sell more than one product, you need not worry—you can always upload the remaining images and product descriptions later!
Upload a product by clicking on “Quick Add”
To ensure that the customer has a clear understanding of the product, you can upload a maximum of four images per product.
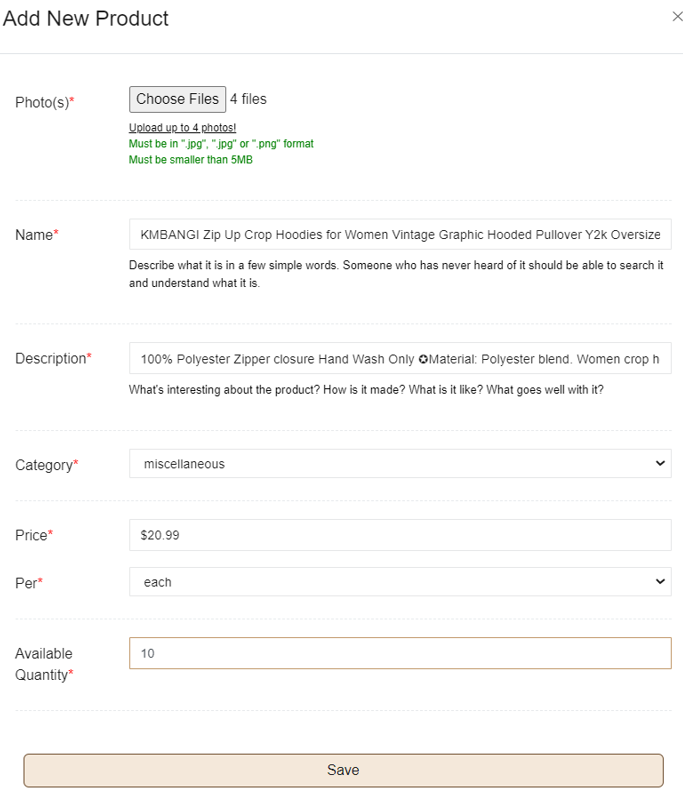
Write a captivating name for the product and a description of it that highlights its features and illustrates how it will benefit the customer.
After clicking “Save,” you should be able to see a preview of the item and its description.
Click on “Save & Continue”
Step 7
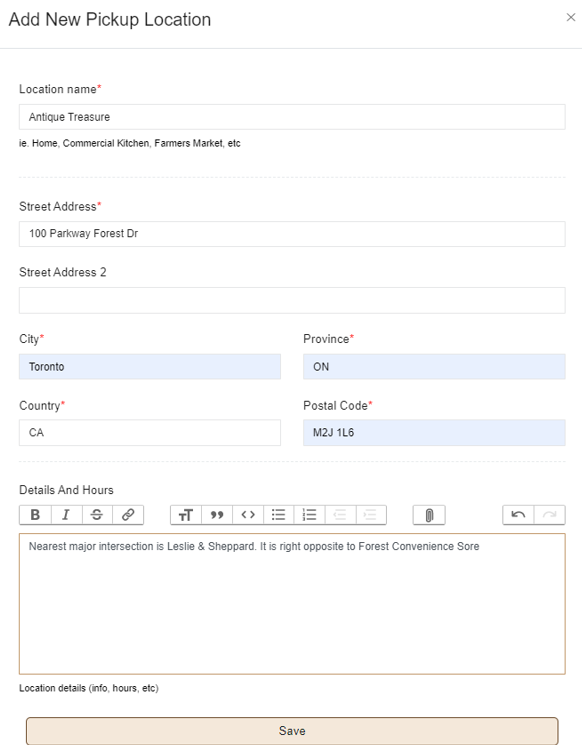
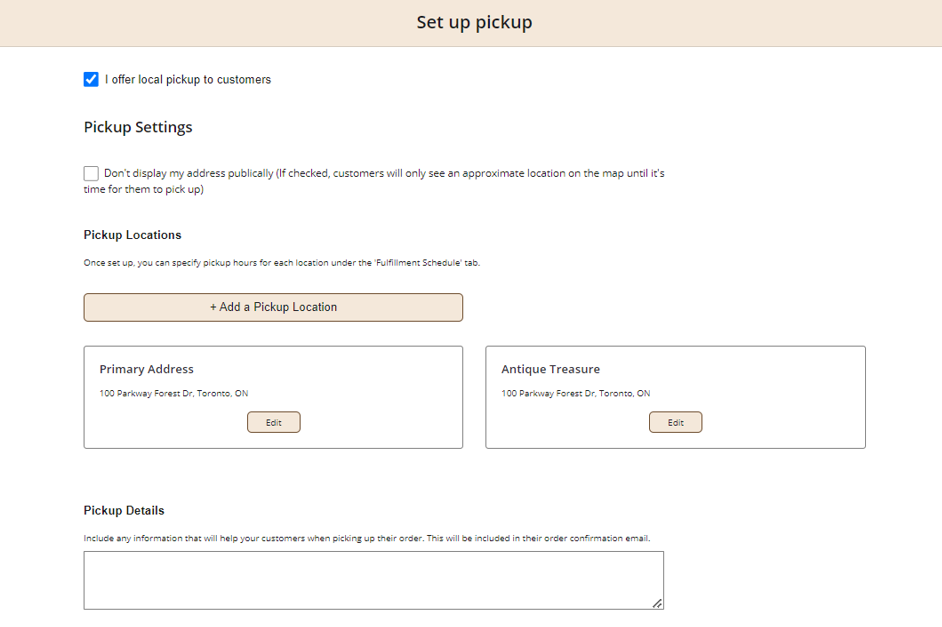
If you offer customer pickup, be sure to include the precise address, the pick-up timings, and any other information that will make it easier for customers to find the location, such as a nearby landmark or major intersection.
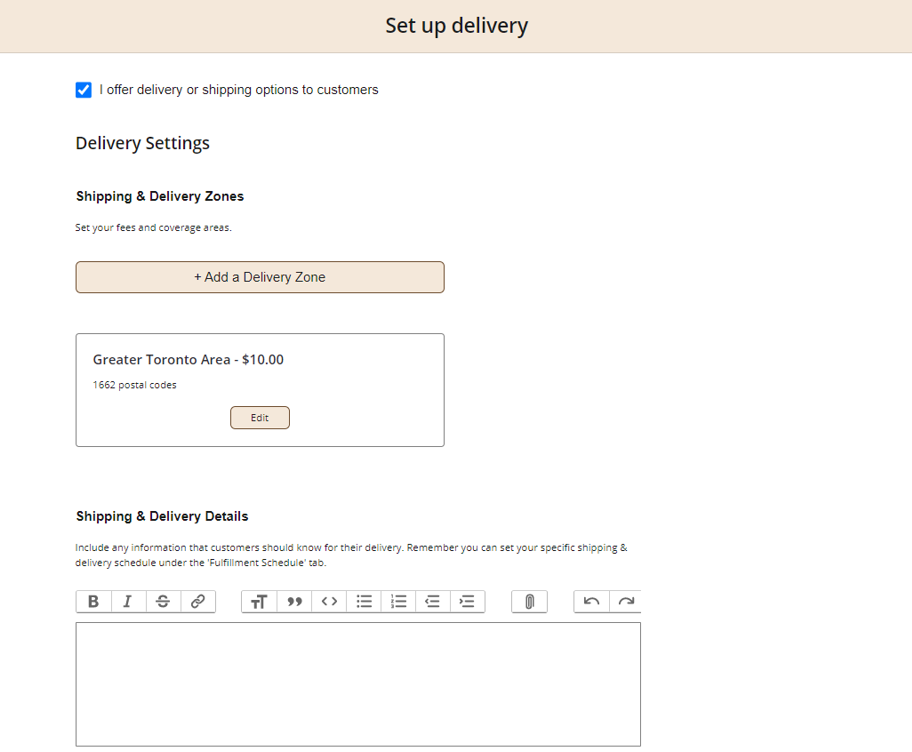
Step 8
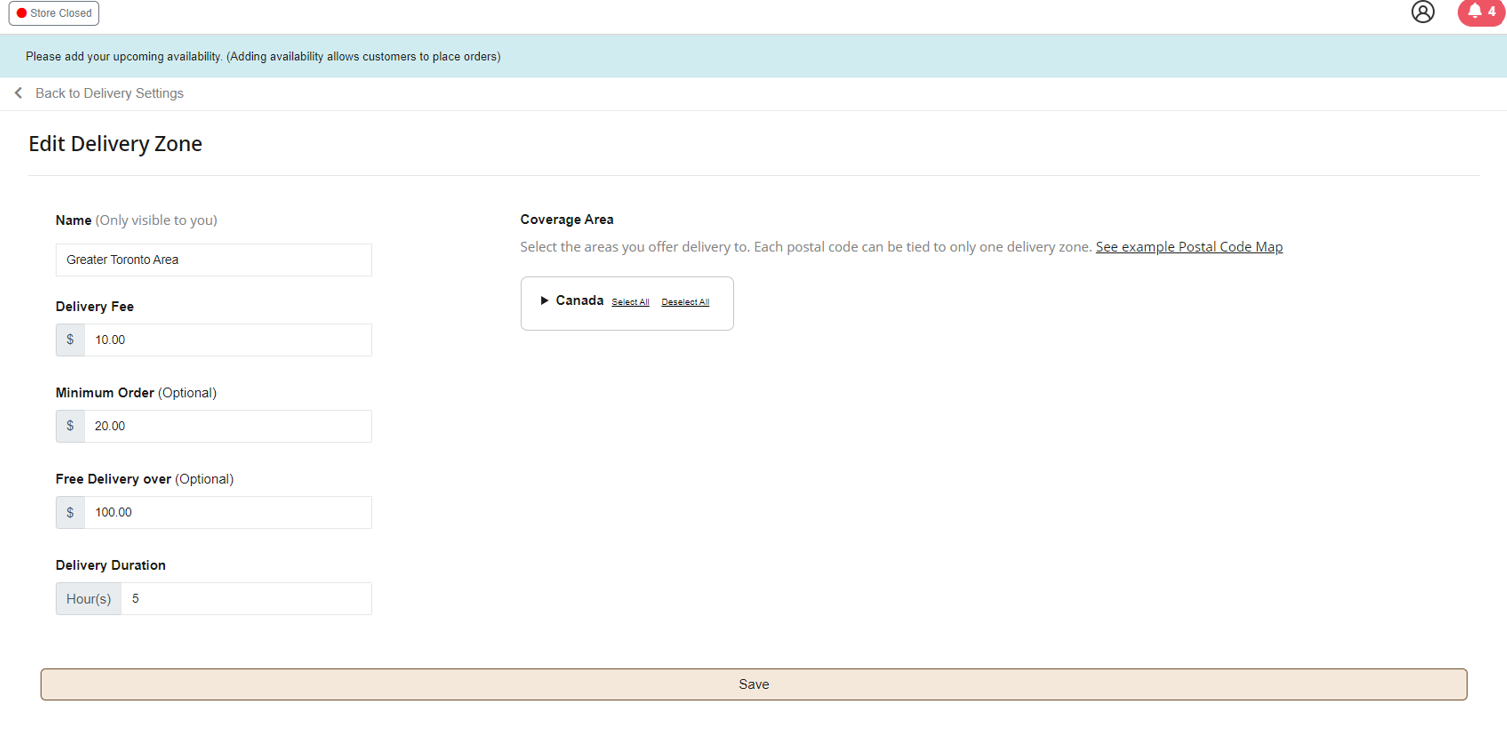
If you provide delivery services to customers, be sure to include all relevant information, such as the service area, delivery cost, and delivery time.
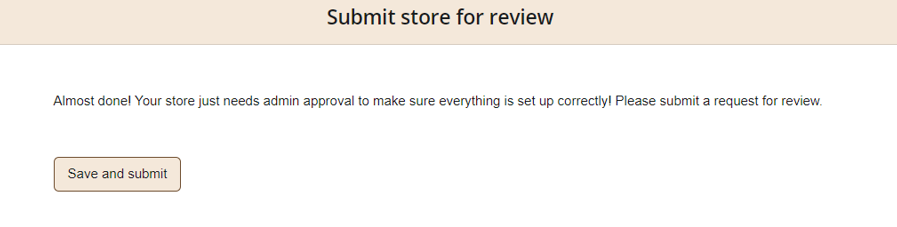
Step 9
In order for a Freshfind representative to review your application and make sure everything is in order, you must click “Save & Submit” in the final step.
You will be required to complete a feedback form regarding the onboarding process at the end. Please share your honest opinions with us so that we can improve our platform.
Congratulations! You are all set to sell on Freshfind.
Feel free to contact us at 510-516-9495 or [email protected] if you would like to learn more, or if you have any issues setting up your storefront on FreshFind – we look forward to working with you!


GIPHY App Key not set. Please check settings